

Wire nail making machine setup: step-by-step installation guide
Nov 23,2026


Author:
Aisen Machinery

Article overview
This guide covers the complete setup process for wire nail making machines, including pre-installation site planning, step-by-step mechanical assembly, die alignment, trial run calibration, and India-specific cost benchmarks for 2026. Intended for fastener entrepreneurs, plant engineers, and procurement managers evaluating nail and screw making machines for the first time or upgrading an existing production line.
Table of contents
- 1. What are nail and screw making machines and why setup matters
- 2. Pre-installation checklist: site, power, and foundation requirements
- 3. Step-by-step installation procedure for wire nail making machines
- 4. Die and tooling setup: selection, alignment, and adjustment
- 5. Trial run, quality checks, and production calibration
- 6. Cost, capacity, and payback period comparison (India 2026)
- 7. Compliance, maintenance, and 2026 regulatory updates
- 8. Frequently asked questions
What are nail and screw making machines and why setup matters
Nail and screw making machines are industrial equipment that convert mild-steel wire rod (coil stock) into finished nails or screws through sequential cold-forming operations — including wire drawing, cold heading, tip cutting, and thread rolling — at high output rates. A poorly installed machine, even a technically sound one, can underperform by 20–35% against its rated capacity simply due to incorrect foundation levelling or misaligned dies.
India's fastener industry is one of the fastest-growing manufacturing segments in Asia. According to IMARC Group data, the Indian fastener market was valued at approximately USD 11.24 billion in 2025 and is projected to reach USD 16.95 billion by 2034. For small and mid-scale entrepreneurs entering this space, the difference between a profitable unit and a struggling one often comes down to how precisely the nail fastener manufacturing line is set up from day one.
Why correct installation directly affects output quality
A wire nail making machine operates under continuous high-speed mechanical impact — typically 200–600 strokes per minute for Z94-C series models. Any vibration imbalance introduced at installation propagates through the entire mechanical chain: the cutter, the die block, and the wire-feed rollers all absorb stress that leads to premature wear. In real plant audits, improperly levelled machines show nail head eccentricity rates of 8–12%, compared to under 1% on correctly commissioned lines.
How nail making differs from screw making in setup complexity
Many first-time buyers assume one machine covers everything. That is a costly misconception. Wire nail machines (commonly classified as metal wire nail machines) handle heading and tip-cutting in a single pass. Screw production requires at minimum two separate stations: a cold heading machine for blank forming and a screw thread rolling machine for thread profiling. So when budgeting for nail and screw making machines, factor in floor space, power load, and operator count for each distinct unit in the fastener production line.
Pre-installation checklist: site, power, and foundation requirements
Correct site preparation is the most frequently skipped step — and the one that causes the most post-installation problems. Before the machine arrives, complete every item in the checklist below.
Civil and structural prerequisites
The floor must be reinforced concrete with a minimum thickness of 150 mm and a load-bearing capacity of at least 500 kg/m². For heavy-duty automatic nail production lines (machines weighing 800 kg or above), a dedicated machinery pit with anchor bolts — typically M16 grade — is recommended. The workspace ceiling height should clear at least 3 metres to allow coil reel installation above the wire-feed path. Adequate ventilation matters too: wire-drawing lubricant mist and metal dust must be managed to protect both operators and the machine's electrical components.
Electrical and power supply standards
Standard Z94-C wire nail making machines operate at 380V / 50Hz three-phase supply. In India, most industrial zones provide 415V three-phase at 50 Hz, which is compatible, but a stabiliser rated 10–15% above the machine's motor load is strongly advisable given voltage fluctuation patterns in Tier-2 and Tier-3 industrial estates. The main motor of a mid-range nail machine (producing 2.5-inch nails) draws 3–5.5 kW; a full automatic nail production line with integrated wire drawing machine can exceed 15 kW total draw. Install a dedicated earth leakage circuit breaker (ELCB) and ensure the neutral-earth voltage stays below 2V.
"Equipment-related downtime in Indian fastener SMEs is most commonly traced to inadequate power conditioning and incorrect foundation work at initial installation, not to machine quality itself." — Industry observation cited in MarketsandMarkets' hardware manufacturing machinery segment review, 2025.
Step-by-step installation procedure for wire nail making machines
Follow this sequence without skipping steps. Each phase builds on the previous one; rushing to the trial run before completing alignment is the single most common cause of first-week mechanical failures.
- Unpack and inspect: Remove all protective packaging and check every component against the packing list. Document any transit damage with photographs before signing the delivery receipt. Pay particular attention to the die block, cutter blade, and wire-feed rollers — these are the highest-wear components and the most likely to suffer shipping damage.
- Position the machine body: Use a hydraulic pallet truck or chain block to move the machine onto its foundation plate. Do not drag it. Align the machine's centreline with the wire-feed direction marked on your floor plan.
- Level the base frame: Place a precision spirit level (sensitivity ≥ 0.02 mm/m) on the machine bed in both longitudinal and transverse axes. Adjust using the provided levelling bolts until deviation is within 0.05 mm/m. This step takes 30–60 minutes but saves hours of die-adjustment work later.
- Grout and anchor: Pour non-shrink grout into the foundation bolt pockets. Allow 24–48 hours curing time before tightening anchor bolts to the specified torque (typically 120–150 Nm for M16 bolts).
- Install the wire reel stand: Mount the coil reel stand at the specified distance from the wire-straightening unit — usually 1.2–1.8 metres. Ensure the reel axis is parallel to the machine feed axis within ±1°.
- Thread the wire path: Feed the wire rod through the straightening rollers, wire-feed rollers, and die block according to the machine diagram. Apply a thin coat of drawing lubricant (calcium-based grease or dry soap powder) to the wire entry point.
- Connect power and control wiring: Follow the wiring diagram supplied with the machine. Connect the main motor, control panel, and any auxiliary motors (lubrication pump, cooling fan). Confirm correct phase rotation by jogging the motor briefly and verifying the flywheel rotates in the correct direction.
- Conduct a no-load test: Run the machine at the slowest speed setting for 15–20 minutes without wire. Listen for abnormal bearing noise, check oil circulation, and confirm all safety guards are in place.
Common mistakes made during machine positioning
Why do so many setups fail at this stage? Usually because the operator skips the levelling step in a rush to begin production. A tilt of even 0.2 mm/m in a high-speed nail forging machine translates into uneven heading force distribution, causing nail heads to form off-centre. Another frequent error is mounting the wire reel stand on a separate, unanchored surface — the vibration differential between the reel and the machine body then introduces wire-feed stuttering that is extremely difficult to diagnose after the fact.
Safety interlocks and guarding requirements
Before live production, verify that all mechanical guards are reinstalled and that the emergency stop circuit breaks power to the main motor within 0.5 seconds of activation. For compliance with Indian Factory Act requirements and BIS IS 15990 safety norms applicable to industrial fastener equipment, the cutter mechanism must be fully enclosed and the wire-entry zone must have a barrier guard rated for the machine's rated kinetic energy.
Die and tooling setup: selection, alignment, and adjustment
The die set is the heart of any wire nail making machine. Getting die selection and alignment right determines nail head geometry, shank straightness, and point sharpness — all of which directly affect market acceptance and pricing.
Selecting the correct die for your nail specification
Dies are matched to wire diameter, not nail length. A D-hole die for 2.5 mm wire cannot be repurposed for 3.5 mm wire without a full die-block replacement. Standard wire nail dies in India are sized in SWG (Standard Wire Gauge) or metric mm. For the most common construction nails (2-inch to 4-inch round wire nails), you will typically work with wire diameters of 2.0 mm to 3.8 mm. Always verify the die bore tolerance: it should be within +0.01/−0.00 mm of the nominal wire diameter. Using an oversized die causes head-flashing defects; undersized dies increase wire-snap frequency dramatically.
Aligning the punch, die, and cutter in three axes
Punch-to-die alignment must be checked in X (horizontal), Y (vertical), and Z (axial) planes. Use a dial test indicator (DTI) mounted on the machine bed to verify that the punch centreline deviates no more than 0.03 mm from the die centreline at the top dead centre of the stroke. Cutter-to-shank alignment is equally critical: the cutter blade tip must contact the wire at exactly the specified cut-off point, which is set by the cutter cam timing on the crankshaft. Adjust the cutter cam position in 1° increments and run five test nails between each adjustment until the tip cone angle matches the target specification (typically 30°–45° for standard construction nails).
Trial run, quality checks, and production calibration
Once mechanical installation and die setup are complete, the trial run reveals whether everything has been done correctly — or surfaces the specific adjustment still needed. Plan for a minimum 4-hour trial period before declaring the machine production-ready.
Trial run sequence and what to monitor
Start at 30% of rated speed. Feed wire, produce the first 50–100 nails, and collect them for inspection. Check head diameter, head thickness, shank straightness (use a flat surface and feeler gauge — acceptable bow is ≤1 mm per 100 mm of shank length), and point geometry. Increase speed in 10% increments, pausing to collect samples at each step. Document the speed at which defect rates begin to increase. That threshold is your sustainable operating speed, which is almost always 10–15% below the machine's rated maximum.
Quality parameters and pass/fail criteria
For nails sold into the Indian construction market, the relevant standard is BIS IS 723 (wire nails). Key dimensional tolerances: nail length ±3%, shank diameter ±0.1 mm, head diameter ±0.5 mm. Surface finish must be free of seams, laps, and slivers. Run a batch of 500 nails through a simple bend test: a correctly made 3-inch nail should bend 90° without fracturing. If more than 2% of your sample fails the bend test, the wire rod coil hardness is likely out of specification — not a machine fault, but a raw material quality issue worth flagging to your wire drawing machine supplier.
Cost, capacity, and payback period comparison (India 2026)
For Indian fastener entrepreneurs currently at the comparison and procurement stage, the table below consolidates 2026 market data on equipment options, real-world capacities, and indicative payback periods. These figures are based on published supplier listings and industry cost-structure benchmarks; actual results vary with raw material prices, power costs, and local labour rates.
| Machine type | Indicative price (INR) | Rated capacity (kg/hr) | Actual yield (%) | Est. payback period |
|---|---|---|---|---|
| Semi-auto domestic nail machine | ₹1.5 lakh – ₹3.5 lakh | 60–120 kg/hr | 70–80% | 18–30 months |
| Z94-C imported full-auto line | ₹16.5 lakh – ₹57.8 lakh | 180–400 kg/hr | 85–92% | 12–20 months |
| Cold heading + screw thread rolling machine combo | ₹22 lakh – ₹75 lakh | 50–150 kg/hr (screws) | 80–88% | 20–36 months |
| High-speed PLC automatic line (Ludhiana cluster) | ₹35 lakh – ₹1 cr+ | 400–800 kg/hr | 90–95% | 10–16 months |
What drives actual yield below rated capacity?
Three factors consistently erode real output: wire rod quality variance (hardness fluctuation in cheaper coils causes frequent wire snaps), die wear rate (un-coated dies may need replacement every 3–5 tonnes of output), and speed-related quality tradeoffs (pushing beyond sustainable operating speed inflates rejection rates). Budget for a 15% output buffer when projecting monthly production volumes for cash-flow modelling.
Calculating your break-even point
A simple break-even formula for Indian fastener entrepreneurs: Monthly revenue = (actual kg/hr × operating hours/month × average selling price per kg). Deduct wire rod cost (typically 65–70% of revenue at current HRC coil prices), power, labour, and consumables. The residual margin against EMI or capital recovery determines your payback timeline. A properly installed and calibrated mid-range imported nail machine producing 250 kg/hr at ₹52/kg selling price, running 20 days × 16 hours, can generate gross revenue of approximately ₹41.6 lakh/month — before raw material and operating costs.
Compliance, maintenance, and 2026 regulatory updates
The regulatory environment for fastener manufacturing in India changed significantly in late 2025 and continues to evolve through 2026. Ignoring compliance during setup can lead to product rejection at the buyer end, not just at the inspection stage.
BIS QCO compliance for fastener products in 2026
From November 2025, BIS Quality Control Orders (QCO) mandated compulsory certification for a range of fasteners including cross-recess (Phillips-head) screws and certain structural bolts. This means that nail and screw making machines producing QCO-covered product categories must be capable of meeting the dimensional and mechanical property tolerances specified in the relevant BIS standards. During machine setup, verify that your die sets and tooling are configured to produce within BIS IS 723 (wire nails) or IS 1363/1364 (hex bolts and nuts) tolerances from the first production run. For more context on the range of automatic screw machine overview technologies applicable to these standards, industry reference materials are widely available.
Preventive maintenance schedule for long machine life
Of course, even perfect installation does not eliminate the need for structured maintenance. The table above already factors in die replacement cycles, but the broader maintenance rhythm matters equally. Daily: check lubrication oil level, inspect wire-feed roller groove wear, clear metal dust from the cutter zone. Weekly: re-torque anchor bolts, clean and re-lubricate the die block seat, inspect V-belt tension on the main motor. Monthly: measure die bore diameter with a plug gauge — replace when wear exceeds 0.05 mm beyond nominal. Quarterly: check flywheel key and crankshaft bearing clearance. A well-maintained domestic nail machine can run profitably for 8–12 years; neglected ones often fail critically within 18 months.
Spare parts strategy for imported machines in India
Imported Z94 series machines present a specific challenge: standard dies and cutters are metric and not interchangeable with Indian SWG tooling. Order a minimum 12-month spare parts kit at the time of machine purchase — this should include at least two sets of dies per wire size, four cutter blades, one complete set of wire-feed rollers, and one spare main bearing. The lead time for importing replacement parts from Chinese or Taiwanese suppliers can run 45–90 days, during which a single die failure means zero production. Local fabrication of replacement dies is possible in Ludhiana, Rajkot, and Coimbatore, but requires precise dimensional drawings from the OEM.
Frequently asked questions
Q: How long does it take to fully install and commission a wire nail making machine?
A: For a single semi-automatic domestic unit, allow 2–3 days for foundation curing, mechanical assembly, electrical connection, and trial run. A full imported Z94-C automatic nail production line with integrated wire drawing machine typically requires 5–7 working days for complete commissioning, assuming the foundation work was completed in advance.
Q: What is the minimum floor space needed for a nail and screw making machine setup?
A: A single wire nail machine requires approximately 4m × 3m of clear floor space, including wire reel stand clearance. A screw production line combining a cold heading machine and screw thread rolling machine needs at minimum 8m × 4m to allow safe operator movement and wire coil handling between stations.
Q: Can one wire nail machine produce all sizes of nails without changing the die?
A: No. Each die is matched to a specific wire diameter. Changing nail length is achieved by adjusting the cutter timing, but changing nail gauge (shank diameter) requires a full die-block and wire-feed roller replacement. Most operators stock 3–5 die sets to cover the most demanded sizes in their local market.
Q: What is the typical nail making machine price range in India in 2026?
A: Domestically manufactured semi-automatic units start at around ₹1.5 lakh. Fully automatic imported Z94-C series lines range from ₹16.5 lakh to ₹57.8 lakh depending on rated capacity and included accessories. High-speed PLC-controlled lines from established industrial fastener equipment suppliers can exceed ₹1 crore for complete turnkey installations.
Q: Do nail and screw making machines require BIS certification in India?
A: The machines themselves do not currently require BIS product certification, but the fasteners they produce may fall under mandatory BIS Quality Control Orders effective from November 2025. Manufacturers producing QCO-covered categories — including certain screw and bolt types — must obtain a BIS licence for the finished product. Consult BIS or a certified testing laboratory for the specific IS standards applicable to your product range.
Conclusion
Installing a wire nail making machine correctly is a structured engineering exercise, not a one-day unboxing event. The steps outlined in this guide — from reinforced foundation preparation and precision levelling through die alignment, controlled trial runs, and BIS-compliant quality verification — collectively determine whether your investment in nail and screw making machines delivers the capacity and payback period you projected, or drains resources chasing preventable defects. India's fastener market in 2026 rewards operators who build production discipline from the first bolt tightened on the foundation plate. Use this guide as your commissioning reference, invest in the right spare parts upfront, and your line will reward you with consistent, saleable output from week one.
Get A Quote
We will contact you within one working day. Please pay attention to your email.
Latest News
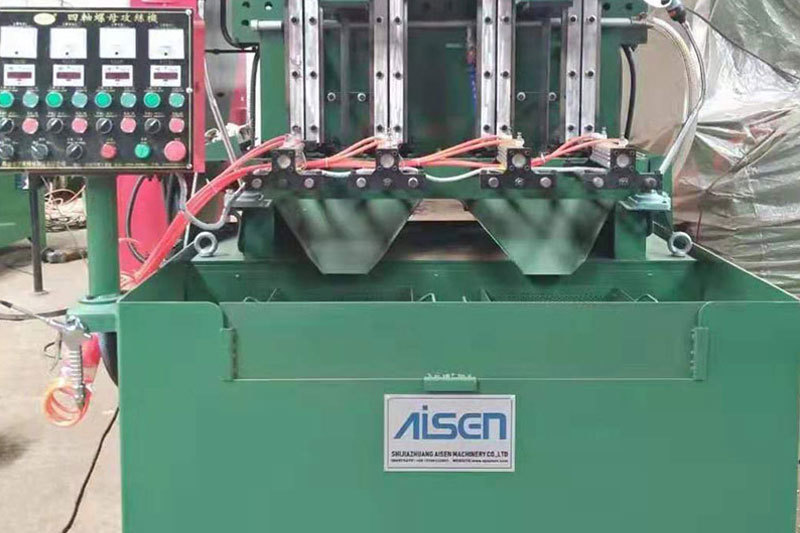
AISEN Four axis nut tapping machine ready for shipment to Russia
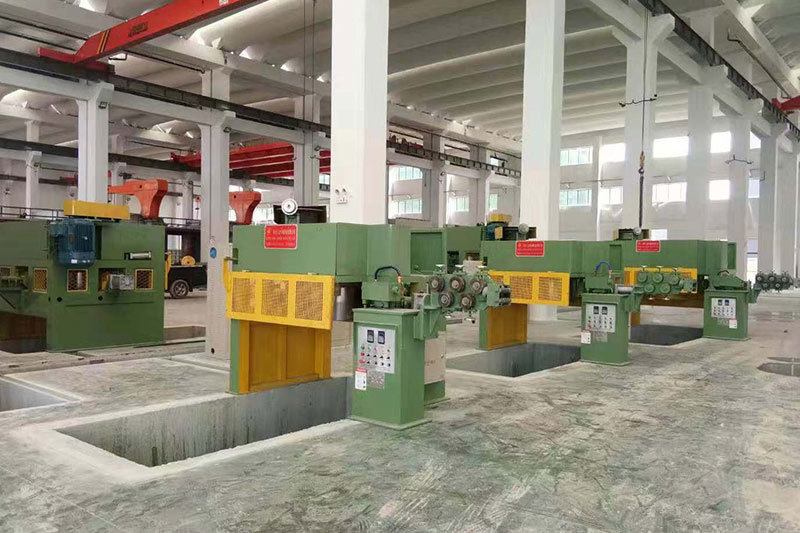
AISEN machinery inverted wire drawing machine
MESSAGES
We will contact you within one working day. Please pay attention to your email.
Qucik Link
Contact
Phone: +86-15100123091
E-mail: info@sjzaisen.com
Address: No.41 Zhaiying South Street, Yuhua District, Shijiazhuang City, Hebei Province China